Motorcycle Rider's "Get Ready" Spring Check List
Posted by ROGER HEUMANN
Spring is FINALLY HERE!
Thank the powers that be for the change in seasons … it’s been a long harsh winter. Even Florida riders had a few weeks of “intolerable” riding temperatures!
Now, days are getting longer and warmer, the flower bulbs have pushed their heads up beyond the subterranean depths. Soon, April showers will wash away the sand and salt and we will all be getting some 2 wheel therapy. But first …
March is the month to get the bike ready.
Read and follow all advice given in your owners manual for spring maintenance and a multi-point inspection before you even think about cranking up the engine … and use Marilyn’s list below as your guide (or visit your mechanic0 … and let’s RIDE!more
In this post, contributor Marilyn Elmore Bragg has 5 Tips for fellow motorcycle riders re: spring motorcycle maintenance.
1. Drain the Fuel Tank
How did you put your bike up for winter? Did you stabilize your fuel? If you did, what a good owner you’ve been! Adding a fuel stabilizer to a full tank of gas before storage allows you to roll the bike out of your garage and crank ‘er up.
If you didn’t do the above, you need to realize that gas has the ability to go “bad” in as little time as 30 days. This means it can get sticky and coat your carburetor or fuel injectors with a shellac type substance, thus gumming up the works. Costly and time consuming, this is not where you want to be.
The number ONE thing to do is DRAIN THE TANK. Start fresh; you never know if condensation built up in the tank during its hibernation thus leaving you with water in the fuel and rust building in your tank. If you are running a carburetor, remove the float bowl and inspect for rust. If rusty, you’ve got a bit of work to do with the carburetor.
2. Change the Oil
Did you change the oil before you put the bike up for winter? If you did, there’s not a lot to worry about, but always check the oil for a milky appearance, before cranking your bike for the first time in spring. If you do discover water in your oil, change it, change the filter too: you can bet there’s going to be water hiding in there as well.
If you didn’t change your oil before you put the bike up…change it now. Change the filter too. Used oil has been broken down by engine heat and use. The old oil could congeal at worst, and at the least will not be as protective for your engine after sitting for a few months in the cold.
3. Inspect the Brake Fluid
Spring is the perfect time to check the brake fluid. Check both front and rear reservoirs. You’re not only checking the fluid levels; you are also inspecting the fluid for dirt. If your brake fluid has a dirty brown appearance, rather than “see through”, it’s time to flush the system and add new fluids.
NOTE: Something I’ve read on forum boards is that it’s recommended with DOT 3 or DOT 4 to flush the brake lines every 2 years. From what I read, the natural water- absorbing characteristics of DOT 3 and 4 means that the fluid will degrade by water being absorbed through the rubber hoses and master cylinder.
4. Don’t forget the Fork Oil
Check your fork oil. If you own a sport bike, I’ve read recommendations to change the fork oil are about every 10K miles. For the touring bike, 20K should serve you, but changing fork oil should never ever…mean NEVER .. be overlooked!
Think about what your front suspension does for you. Forks move at a very fast rate, often up to 2 meters (seven feet) in as little time as 1 second! What an amazing feat of engineering! Over time fork oil, like engine oil loses its ability to perform properly.
While you’re at it, check all around the bike. Look for any signs of leakage from any and all sealing points. Fix or replace as needed!
5. Beyond Fluids: Tires, Fasteners, Brake Pads, Drive Chain, Belts
A few more mechanical things to check, and you’re done …
- Check your tires. After sitting all winter, you can bet the inflation levels have dropped. Also check the tread, and replace tires showing past the wear bars. You won’t believe how good your bike will feel with some fresh rubber on it!
- Check all nut fasteners. That includes for highway pegs, seats, wheels, and suspension, anything that could fall off causing a potential disaster. Tighten as needed or recommended. Check all plugs, including drain plugs. Don’t forget to check any plastic T’s and elbows in your fuel or oil lines for cracks.
- Brake pads Inspect your brake pads. All too often that important aspect of our safety is left forgotten. Replace as needed. Don’t wait until you also have to replace a rotor!
- Inspect drive chains or belts. Tighten and lube the chain to recommended specs and also check the sprockets. If you have a belt, check it for fraying or other signs of wear. Often you can be missing ribs off the belt and not know it.
A good inspection as well as performing regular maintenance through-out the year will result in your beloved machine lasting longer, performing better, and ensure a safer ride for you and your passenger.
*****
Motorcycle Riders: Add YOUR Spring Maintenance Tips
With these important steps, your Spring Maintenance is complete. Now, you’re ready to ride!
Seasoned riders: any advice to share? What’s on your “to do” list before taking the bike out for the new season?
Ride easy, ride well … and if you have one, leave a comment!
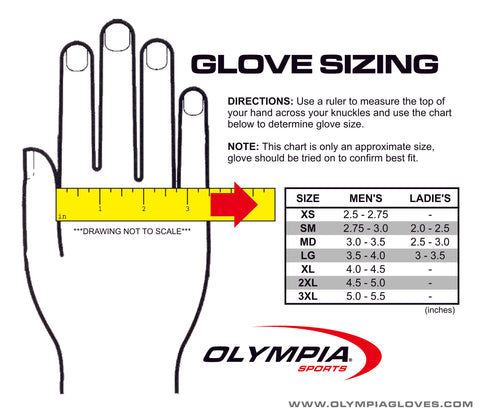
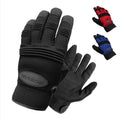
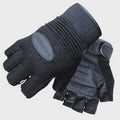
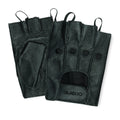
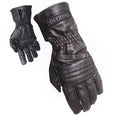
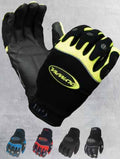
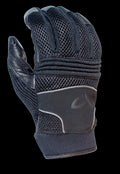
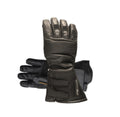
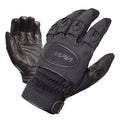
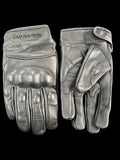
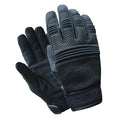
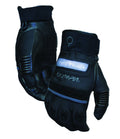
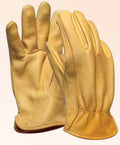
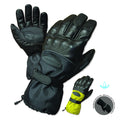
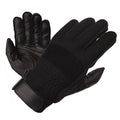
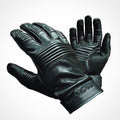
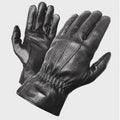
PS While you’re at it, check your gear, and if you need a good pair of motorcycle gloves …
We make over 70 styles of gloves, many for Spring riding, and some with free shipping. To learn more about our motorcycle glove styles, visit a local dealer or our online store:
Photo credit: The Adventure Lifestyle.
